Face Painting Stencils - Ooh! Stencils by Clayton James
Jest Paint would like to introduce you to an entire new line of face painting stencils created by professional face and body artist, Clayton James. Ooh! Face Painting Stencils are created especially for face painting and you will notice that each design is carefully crafted to follow the natural curves of the face, which will allow you to create great looking face painting designs in just a few seconds.
What are the different shapes for?
Currently, Ooh! Stencils offers three kinds of stencils with different purposes:
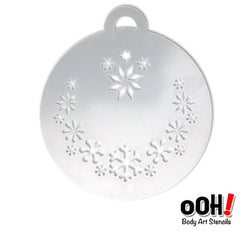
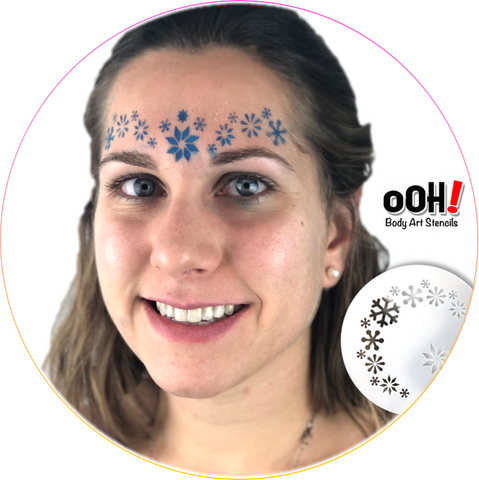
- Ooh! Stencils - Wrap: these face painting stencils are specially designed to fit around the eye in a C shape that wraps around the eye. The curved design will follow the natural curve of the face for a perfect flow. They also work well on the forehead for a crown shape.

- Ooh! Stencils - Flip: these circular shaped face painting stencils are designed to be used above the eye brows and coming down into the cheeks, with the center piece right between the eye brows. Each stencil comes with an alternative center piece that can be used instead by flipping the stencil around. The centerpiece also works great on the cheekbone for a quick cheek art design or on the chest for a fast necklace centerpiece.

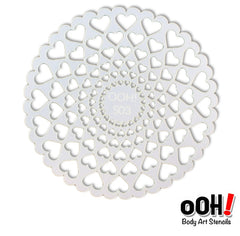
- Ooh! Stencil - Sphere: these face painting stencils are designed to create patterns over the face in a way that the pattern flows smoothly with the natural curves of the face. You get to choose where to start and where to end, avoiding hard edges that might be hard to fit in your specific design. Just sponge the area of the stencil you want and that is it! The Sphere Line of Ooh! Stencils was created to give a stunning pattern that shrinks as it gets to the middle, while leaving just enough space for a gem in the center! These patterns look great inside butterfly wing eye masks!

How to use Ooh! Face Painting Stencils?
The Sphere Line makes great textured backgrounds for airbrush. To use them with a sponge, simply load your dry sponge into slightly wet paint so that the paint is tacky and not too wet at all. Press the stencil against the skin firmly while patting down the paint with your sponge. The paint should be dry enough that it stipples gradually into the gaps to build up into a solid coverage. Make sure to always keep pressing firmly on the stencil right around the area you are applying the paint. You can do this by moving your fingers slowly across the outer edges of the stencil as you tap the sponge between them. Carefully pull the stencil up and away from the skin when you are done, and listen for the Oohs!
How do I clean my Ooh! Stencil?
Ooh! Stencils are durable and easy to clean. Rinse the stencils and then wipe clean gently with a wet cloth and let air dry. Make sure not to get your cloth or sponge snagged on the stencil since that can break or bend it. If you are in the middle of a gig, you can use a baby wipe to gently clean them and remove any unwanted paint from either side. Makes sure to wait until the stencil is dry before you press it against the skin. When using water based paints, it is best to clean the stencil in between each use to prevent paint from one design to transfer to the next client.


Leave a comment